Comments and suggestions conceming this page should be mailed to gmourani@videotron.ca geafogoycpesB28XerheapocesaslGHUPsggwu-wPnetnemaktng [root@deep /roo killall -HUP inetd e ommnYos ou can take to secure the inetd conf file is to set it immutable [root@deep#chattr+i/etc/inetd.conf and no data can be written to the file.Only the superuser can set or clear this attribute.If you wish to modify the inetd.conf file you will need to unset the immutable flag: [roo@deep#chattr-/etc/inetd.conf 8.TCP_WRAPPERS akes secunng ved to your ach ine in /etc/hosts.allow nle is the sat uration. from two files The search stops at the first matc therwise,access will be granted Edit the hosts.deny file(vi/etc/hosts.deny)and add the following line: by AKANOiBfwetchesaryhosthosenanedoesnotmaiohsadres,seebelow -Which means all services,all locations,so any service not explicitly allowed is then blocked, unless they are permitted access by entries in the allow file. NOTE:With the parameter"PARANOID".If you are intended to run telnet or ftp services on your Edit the hosts.allow file(vi/etc/hosts.allow)and add the following line: The explicitly authorized host are listed in the allow file ond:110/255.255.255.gate.openarch.com 9e」 are the IP address and gate.openarch.com the host name Network Architecture
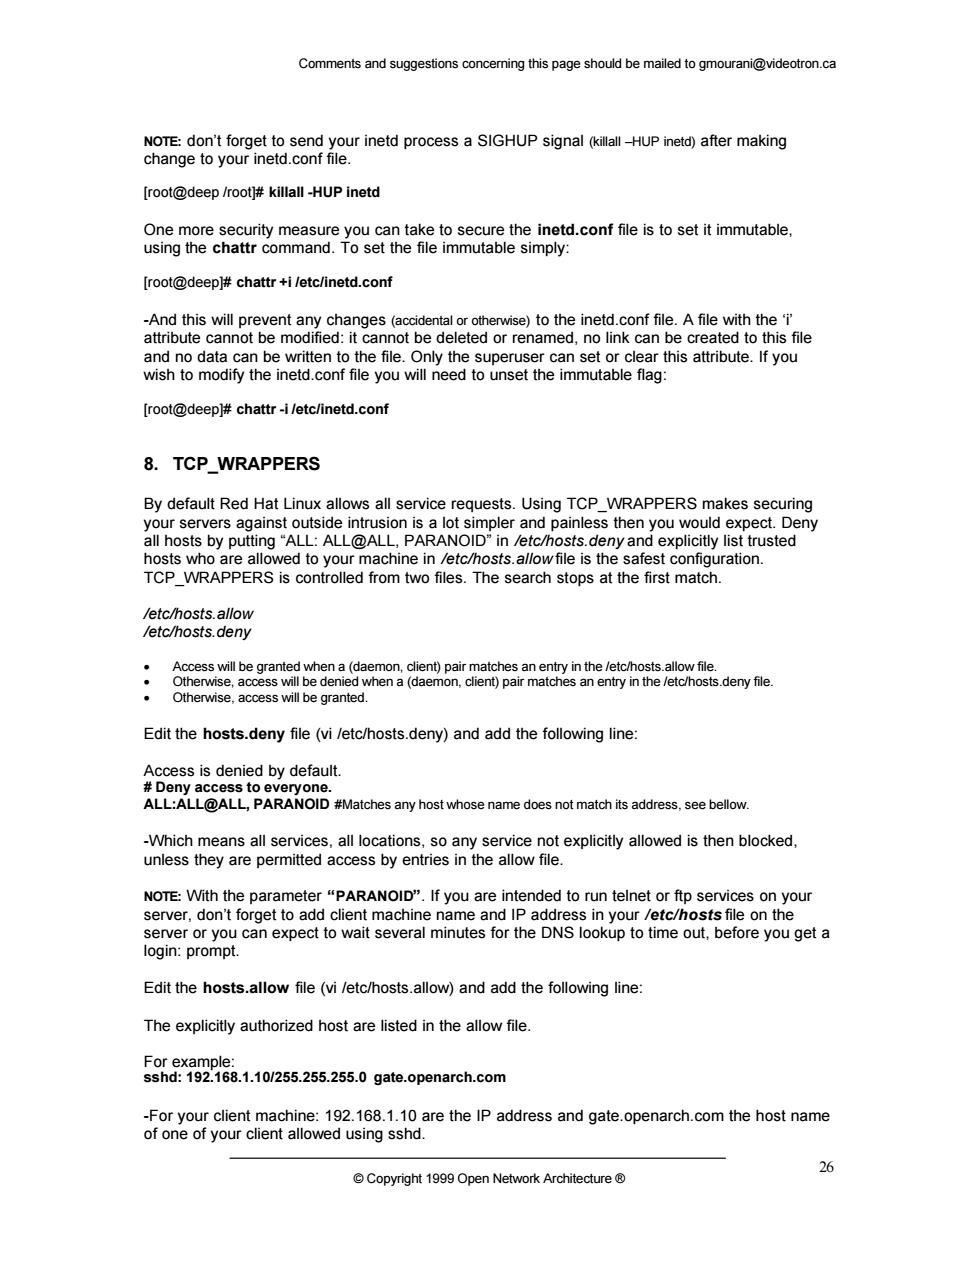
Comments and suggestions concerning this page should be mailed to gmourani@videotron.ca © Copyright 1999 Open Network Architecture ® 26 NOTE: don’t forget to send your inetd process a SIGHUP signal (killall –HUP inetd) after making change to your inetd.conf file. [root@deep /root]# killall -HUP inetd One more security measure you can take to secure the inetd.conf file is to set it immutable, using the chattr command. To set the file immutable simply: [root@deep]# chattr +i /etc/inetd.conf -And this will prevent any changes (accidental or otherwise) to the inetd.conf file. A file with the ‘i’ attribute cannot be modified: it cannot be deleted or renamed, no link can be created to this file and no data can be written to the file. Only the superuser can set or clear this attribute. If you wish to modify the inetd.conf file you will need to unset the immutable flag: [root@deep]# chattr -i /etc/inetd.conf 8. TCP_WRAPPERS By default Red Hat Linux allows all service requests. Using TCP_WRAPPERS makes securing your servers against outside intrusion is a lot simpler and painless then you would expect. Deny all hosts by putting “ALL: ALL@ALL, PARANOID” in /etc/hosts.deny and explicitly list trusted hosts who are allowed to your machine in /etc/hosts.allow file is the safest configuration. TCP_WRAPPERS is controlled from two files. The search stops at the first match. /etc/hosts.allow /etc/hosts.deny · Access will be granted when a (daemon, client) pair matches an entry in the /etc/hosts.allow file. · Otherwise, access will be denied when a (daemon, client) pair matches an entry in the /etc/hosts.deny file. · Otherwise, access will be granted. Edit the hosts.deny file (vi /etc/hosts.deny) and add the following line: Access is denied by default. # Deny access to everyone. ALL:ALL@ALL, PARANOID #Matches any host whose name does not match its address, see bellow. -Which means all services, all locations, so any service not explicitly allowed is then blocked, unless they are permitted access by entries in the allow file. NOTE: With the parameter “PARANOID”. If you are intended to run telnet or ftp services on your server, don’t forget to add client machine name and IP address in your /etc/hosts file on the server or you can expect to wait several minutes for the DNS lookup to time out, before you get a login: prompt. Edit the hosts.allow file (vi /etc/hosts.allow) and add the following line: The explicitly authorized host are listed in the allow file. For example: sshd: 192.168.1.10/255.255.255.0 gate.openarch.com -For your client machine: 192.168.1.10 are the IP address and gate.openarch.com the host name of one of your client allowed using sshd
Comments and suggestions conceming this page should be mailed to gmourani@videotron.ca After your configuration is done,run the program tcpdchk root@deep tcpdchk -tcpdchk is the tcpd wrapper configuration checker.It examines your tcp wrapper configuration and reports all potential and real problems it can find. 9.The /etc/aliases file eaee。e6a8npecenean80eggnpyhmggeco6eYasnhe aliases file.This practice is becoming less common. The intention is to provide an easy nsfer binary files us alias at the receiving site. program. converts the epCe0g334p6UuU69g3ned10PPRPOetgebodes9nm9ae4 to nge akeiet9y8winegton [root@deep#/usr/bin/newaliases Edit the aliases file(vi /etc/aliases)and remove or comment out the following lines: postmaster: General redirections for pseudo accounts emon: #Well-kno ma root remove or comment roo #beIsonwhoshoungaetotsmal Don't forget to run /usr/bin/newaliases for this change to take effect. 10.Prevent your system from responding to ping request Network Architecture 27
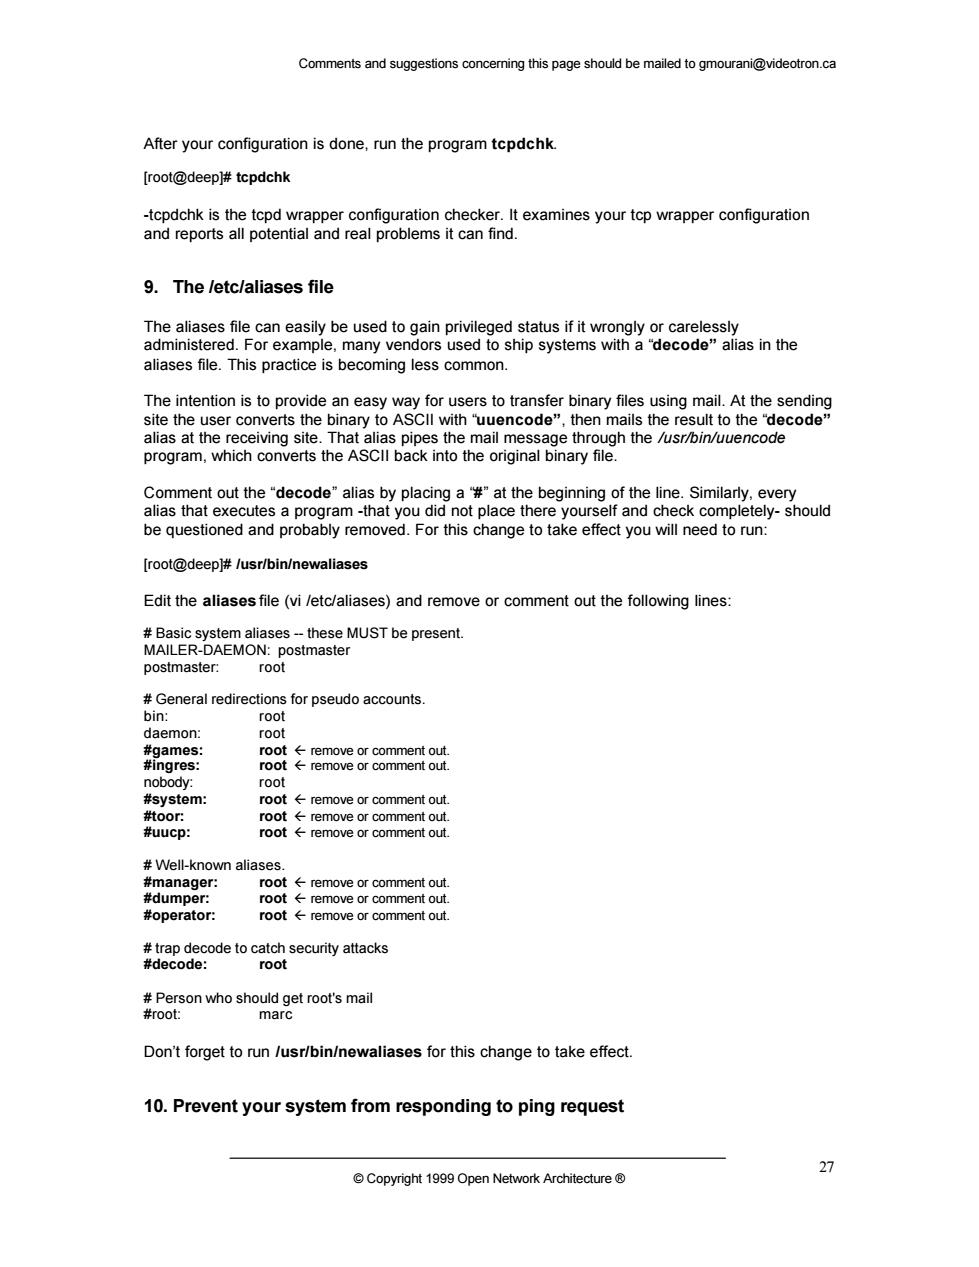
Comments and suggestions concerning this page should be mailed to gmourani@videotron.ca © Copyright 1999 Open Network Architecture ® 27 After your configuration is done, run the program tcpdchk. [root@deep]# tcpdchk -tcpdchk is the tcpd wrapper configuration checker. It examines your tcp wrapper configuration and reports all potential and real problems it can find. 9. The /etc/aliases file The aliases file can easily be used to gain privileged status if it wrongly or carelessly administered. For example, many vendors used to ship systems with a “decode” alias in the aliases file. This practice is becoming less common. The intention is to provide an easy way for users to transfer binary files using mail. At the sending site the user converts the binary to ASCII with “uuencode”, then mails the result to the “decode” alias at the receiving site. That alias pipes the mail message through the /usr/bin/uuencode program, which converts the ASCII back into the original binary file. Comment out the “decode” alias by placing a “#” at the beginning of the line. Similarly, every alias that executes a program -that you did not place there yourself and check completely- should be questioned and probably removed. For this change to take effect you will need to run: [root@deep]# /usr/bin/newaliases Edit the aliases file (vi /etc/aliases) and remove or comment out the following lines: # Basic system aliases -- these MUST be present. MAILER-DAEMON: postmaster postmaster: root # General redirections for pseudo accounts. bin: root daemon: root #games: root fl remove or comment out. #ingres: root fl remove or comment out. nobody: root #system: root fl remove or comment out. #toor: root fl remove or comment out. #uucp: root fl remove or comment out. # Well-known aliases. #manager: root fl remove or comment out. #dumper: root fl remove or comment out. #operator: root fl remove or comment out. # trap decode to catch security attacks #decode: root # Person who should get root's mail #root: marc Don’t forget to run /usr/bin/newaliases for this change to take effect. 10. Prevent your system from responding to ping request
Comments and suggestions conceming this page should be mailed to gmourani@videotron.ca 6Cho1>proclsysnetpv4icmp-echo.gnoreal 11.Don't let system issue file to be displayed ngmgmeo2eeebrg8ktepeopeogneoey.puean telnet stream tcp nowait root /usr/sbin/tcpd in.telnetd-h 12.The /etc/host.conf file Edit the host.conf file(vi /etc/host.conf)and add the following lines: Lookup names via DNS first then fall back to /etc/hosts nospoof on for IP address spoofing 13.The /etc/securetty file he t e n pror mmat e tty devices a Disable any tty that you do not need by commenting them out(at the beginning of the line) Edit the securetty file (vi/etc/securetty)and comment out the following lines: -Which means root is only allowed to login on tty Network Architecture 8
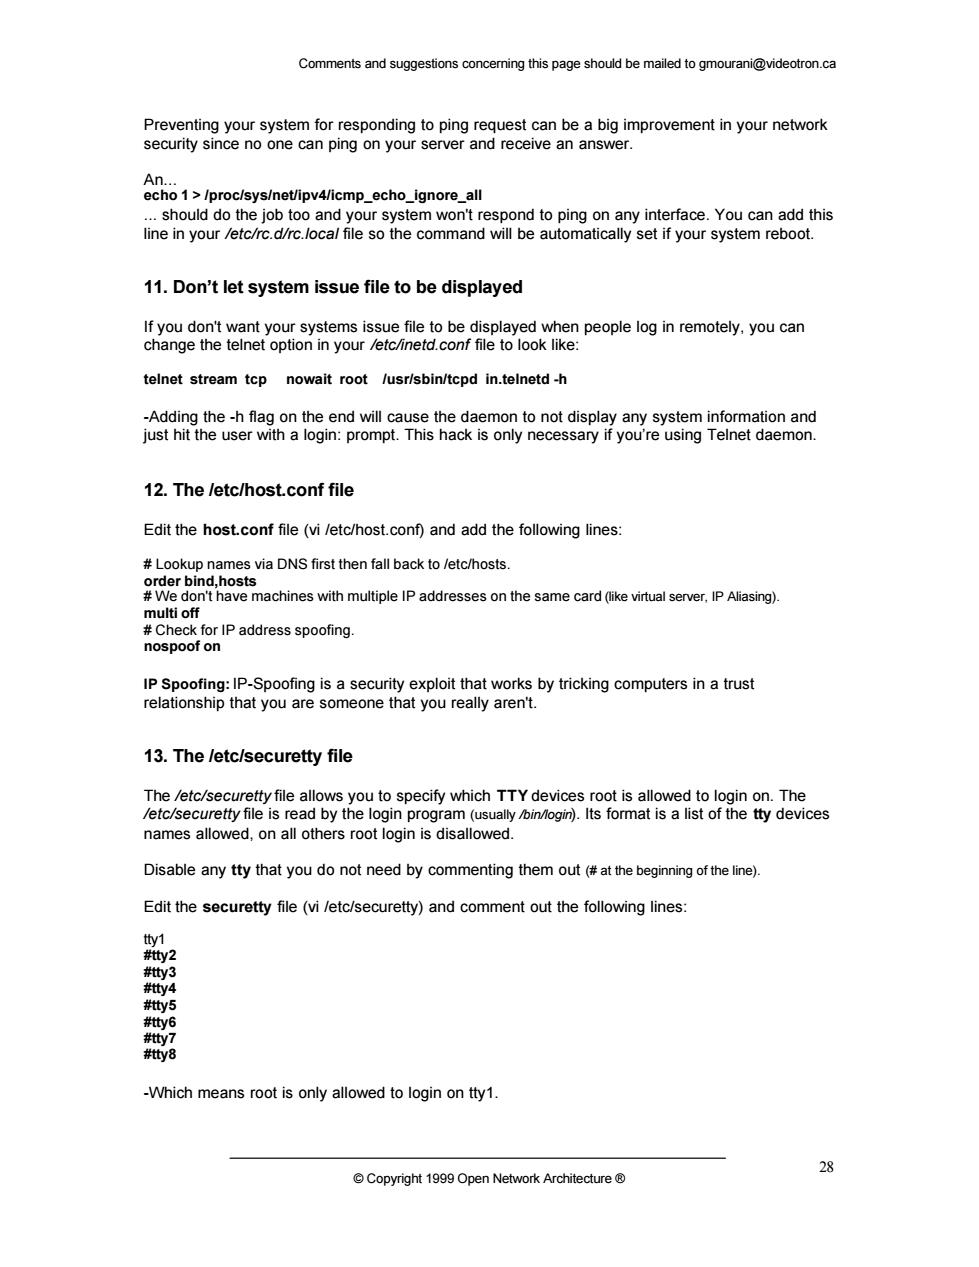
Comments and suggestions concerning this page should be mailed to gmourani@videotron.ca © Copyright 1999 Open Network Architecture ® 28 Preventing your system for responding to ping request can be a big improvement in your network security since no one can ping on your server and receive an answer. An... echo 1 > /proc/sys/net/ipv4/icmp_echo_ignore_all ... should do the job too and your system won't respond to ping on any interface. You can add this line in your /etc/rc.d/rc.local file so the command will be automatically set if your system reboot. 11. Don’t let system issue file to be displayed If you don't want your systems issue file to be displayed when people log in remotely, you can change the telnet option in your /etc/inetd.conf file to look like: telnet stream tcp nowait root /usr/sbin/tcpd in.telnetd -h -Adding the -h flag on the end will cause the daemon to not display any system information and just hit the user with a login: prompt. This hack is only necessary if you’re using Telnet daemon. 12. The /etc/host.conf file Edit the host.conf file (vi /etc/host.conf) and add the following lines: # Lookup names via DNS first then fall back to /etc/hosts. order bind,hosts # We don't have machines with multiple IP addresses on the same card (like virtual server, IP Aliasing). multi off # Check for IP address spoofing. nospoof on IP Spoofing: IP-Spoofing is a security exploit that works by tricking computers in a trust relationship that you are someone that you really aren't. 13. The /etc/securetty file The /etc/securetty file allows you to specify which TTY devices root is allowed to login on. The /etc/securetty file is read by the login program (usually /bin/login). Its format is a list of the tty devices names allowed, on all others root login is disallowed. Disable any tty that you do not need by commenting them out (# at the beginning of the line). Edit the securetty file (vi /etc/securetty) and comment out the following lines: tty1 #tty2 #tty3 #tty4 #tty5 #tty6 #tty7 #tty8 -Which means root is only allowed to login on tty1
Comments and suggestions concemning this page should be mailed to gmourani@videotron.ca 14.Special accounts DISABLE ALL default vendor accor ints not necessary shir bed with the Operating System.(Thi u h you If you do o not nee ruse the command us he command. Type the following commands on your terminal to delete users listed bellow root@deep#userdel halt r00 new root@deepj#userde loperator phe s(delete this user if you don't useX Window Server) (delete thisuserifyou dontuse fpanonymous). Type the following commands on your terminal to delete usersgroups listed bellow: [root@deep#groupdel adm root@deep group deep# grou rootdeep#groupdel games(delete this group if you don't use x Window Server). (delete this group if you don't use pop server for email) Add the necessary user to the system the commad: For example w m assword for user admir ething like this passwd:all authentication tokens updated successfully Copyright 1999 Open Network Architecture
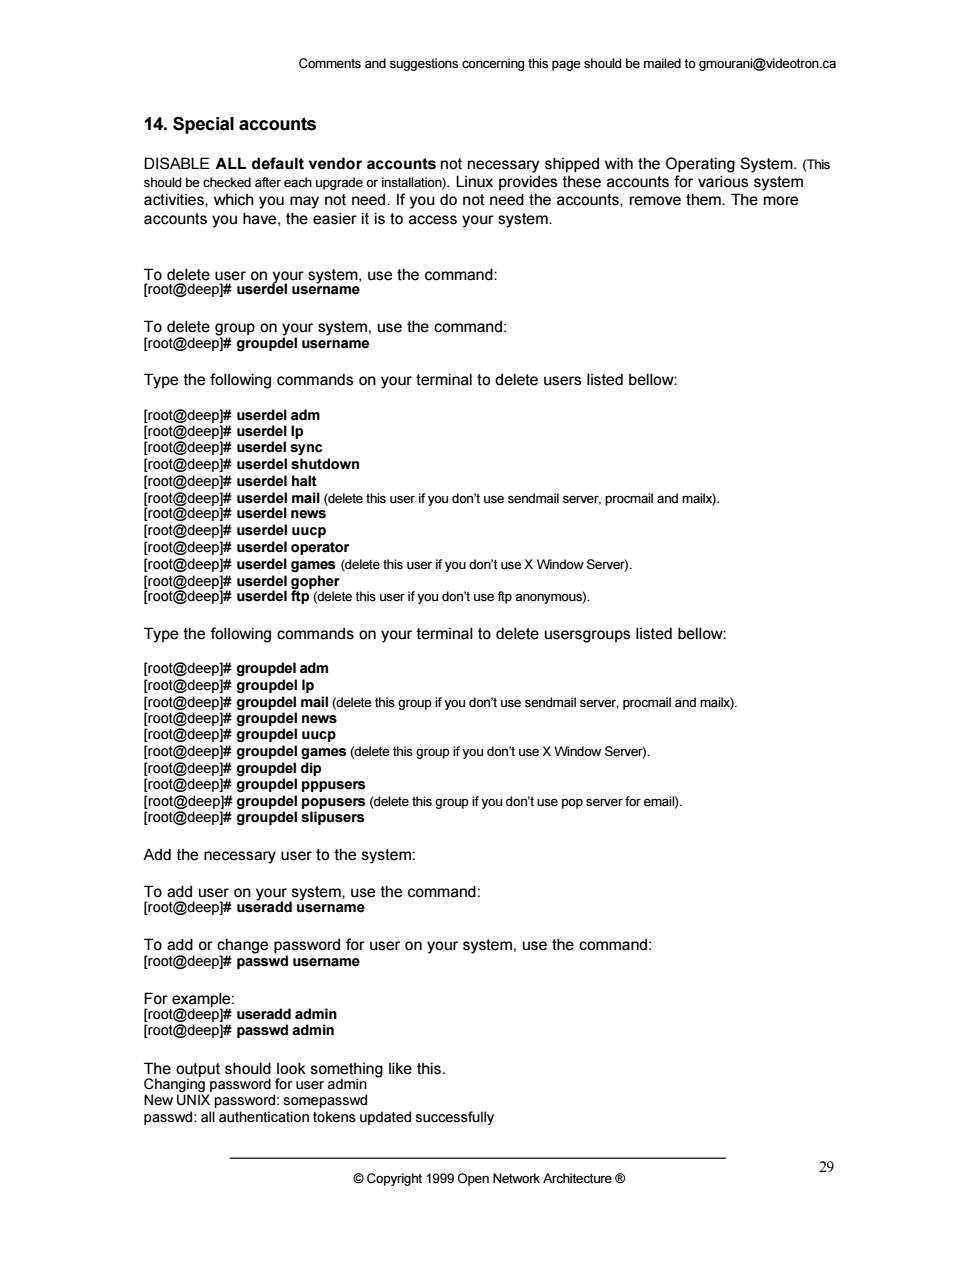
Comments and suggestions concerning this page should be mailed to gmourani@videotron.ca © Copyright 1999 Open Network Architecture ® 29 14. Special accounts DISABLE ALL default vendor accounts not necessary shipped with the Operating System. (This should be checked after each upgrade or installation). Linux provides these accounts for various system activities, which you may not need. If you do not need the accounts, remove them. The more accounts you have, the easier it is to access your system. To delete user on your system, use the command: [root@deep]# userdel username To delete group on your system, use the command: [root@deep]# groupdel username Type the following commands on your terminal to delete users listed bellow: [root@deep]# userdel adm [root@deep]# userdel lp [root@deep]# userdel sync [root@deep]# userdel shutdown [root@deep]# userdel halt [root@deep]# userdel mail (delete this user if you don’t use sendmail server, procmail and mailx). [root@deep]# userdel news [root@deep]# userdel uucp [root@deep]# userdel operator [root@deep]# userdel games (delete this user if you don’t use X Window Server). [root@deep]# userdel gopher [root@deep]# userdel ftp (delete this user if you don’t use ftp anonymous). Type the following commands on your terminal to delete usersgroups listed bellow: [root@deep]# groupdel adm [root@deep]# groupdel lp [root@deep]# groupdel mail (delete this group if you don’t use sendmail server, procmail and mailx). [root@deep]# groupdel news [root@deep]# groupdel uucp [root@deep]# groupdel games (delete this group if you don’t use X Window Server). [root@deep]# groupdel dip [root@deep]# groupdel pppusers [root@deep]# groupdel popusers (delete this group if you don’t use pop server for email). [root@deep]# groupdel slipusers Add the necessary user to the system: To add user on your system, use the command: [root@deep]# useradd username To add or change password for user on your system, use the command: [root@deep]# passwd username For example: [root@deep]# useradd admin [root@deep]# passwd admin The output should look something like this. Changing password for user admin New UNIX password: somepasswd passwd: all authentication tokens updated successfully
Comments and suggestions conceming this page should be mailed to gmourani@videotron.ca The immutable bit can be protected.It also p ents som source of attacks involving deleting /etc/passwd or /etc/shadow. [root@deep#chattr +i/etc/passwd ch ttr+i/etc/group [root@deep chattr +i /etc/gshadow 15.Blocking anyone to su to root restrict su for certain users then add this to the top of Edit the su file(viletc/pam.d/su)and add the following line in the file ty/pa meanny those h are a member of the whee grop ca suto oot.taso includes For example following command: er admin member of the wheel group and be able to su to root use the [root@deep#usermod-G10 admin 16.Resource limits Set resource limits on all your users so they can't perform denial of service attacks(number of Roeap6isruseneeg9geeremeorseogs m Edit the limits.conf file (vi/etc/security/limits.conf)and add: hard hard You must also edit /etc/pam.d/login file and add or verify the existence of this line session required /ib/security/pam_limits.so -This says to prohibit the creation of core files"core 0".restrict the number of processes to 50 nproc 50,and restrict memory usage to 5M "rss 5000"for everyone.All of the above only concern users who have entered through the login prompt. 17.More control on mounting a file system Network Architecture 30
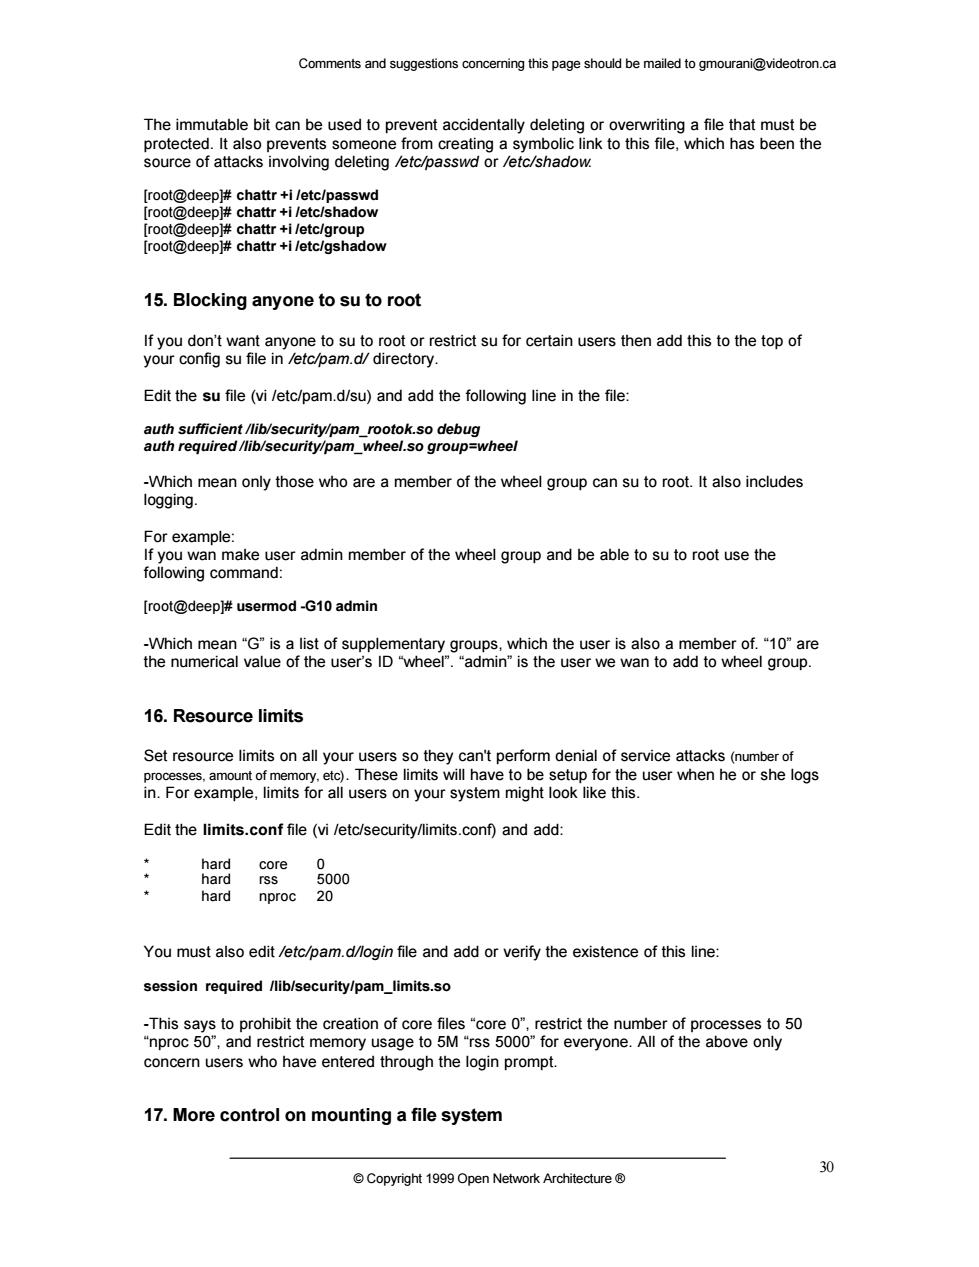
Comments and suggestions concerning this page should be mailed to gmourani@videotron.ca © Copyright 1999 Open Network Architecture ® 30 The immutable bit can be used to prevent accidentally deleting or overwriting a file that must be protected. It also prevents someone from creating a symbolic link to this file, which has been the source of attacks involving deleting /etc/passwd or /etc/shadow. [root@deep]# chattr +i /etc/passwd [root@deep]# chattr +i /etc/shadow [root@deep]# chattr +i /etc/group [root@deep]# chattr +i /etc/gshadow 15. Blocking anyone to su to root If you don’t want anyone to su to root or restrict su for certain users then add this to the top of your config su file in /etc/pam.d/ directory. Edit the su file (vi /etc/pam.d/su) and add the following line in the file: auth sufficient /lib/security/pam_rootok.so debug auth required /lib/security/pam_wheel.so group=wheel -Which mean only those who are a member of the wheel group can su to root. It also includes logging. For example: If you wan make user admin member of the wheel group and be able to su to root use the following command: [root@deep]# usermod -G10 admin -Which mean “G” is a list of supplementary groups, which the user is also a member of. “10” are the numerical value of the user’s ID “wheel”. “admin” is the user we wan to add to wheel group. 16. Resource limits Set resource limits on all your users so they can't perform denial of service attacks (number of processes, amount of memory, etc). These limits will have to be setup for the user when he or she logs in. For example, limits for all users on your system might look like this. Edit the limits.conf file (vi /etc/security/limits.conf) and add: * hard core 0 * hard rss 5000 * hard nproc 20 You must also edit /etc/pam.d/login file and add or verify the existence of this line: session required /lib/security/pam_limits.so -This says to prohibit the creation of core files “core 0”, restrict the number of processes to 50 “nproc 50”, and restrict memory usage to 5M “rss 5000” for everyone. All of the above only concern users who have entered through the login prompt. 17. More control on mounting a file system