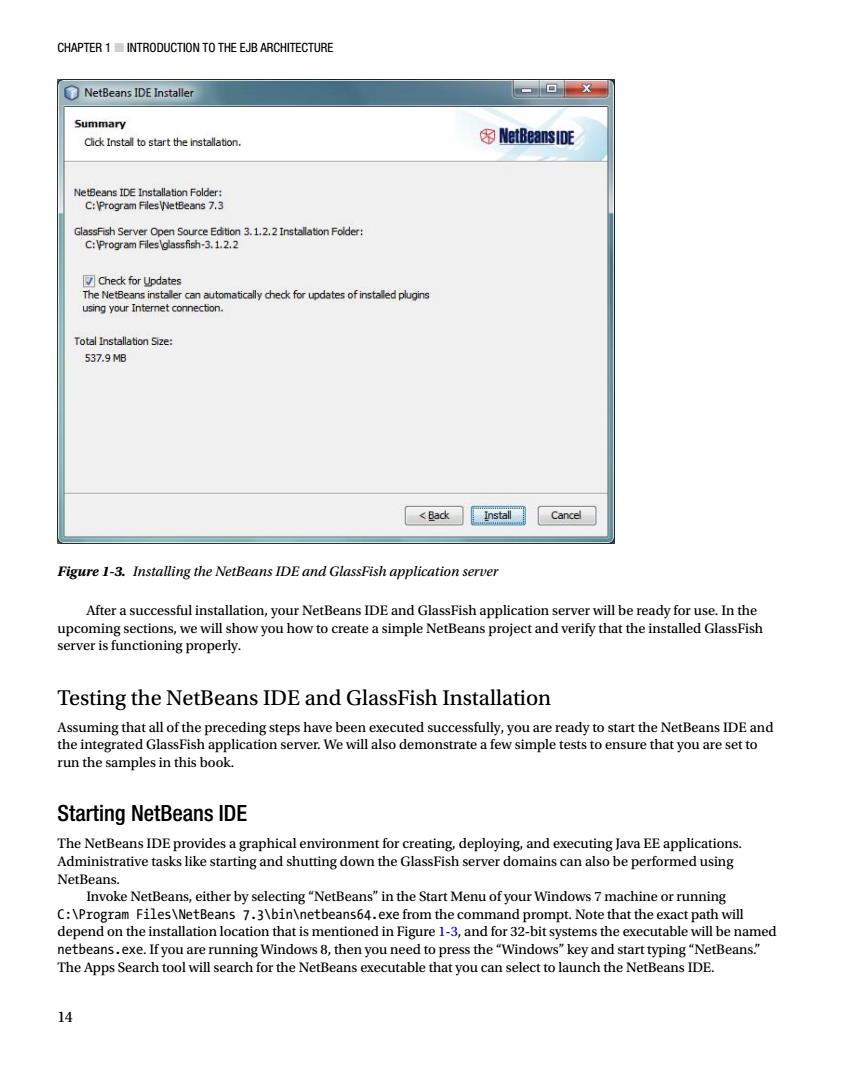
CHAPTER 1 INTRODUCTION TO THE EJB ARCHITECTURE NetBeans IDE Installer 回X Summary Cick Install to start the nstalleton 多NetBeans1CE talaton Pde: eimmiadetepasor的ptgs TotaInstanSze: 537.9M8 Back instai Cancel Figure 1-3.Installing the NetBeans IDE and GlassFish application server After a successful installation,your NetBeans IDE and GlassFish application server will be ready for use.In the upcoming sections,we will show you how to create a simple NetBeans project and verify that the installed GlassFish server is functioning properly. Testing the NetBeans IDE and GlassFish Installation e NetBeans IDE and Starting NetBeans IDE nent for NetBe Invoke NetBeans.either by selecting"NetBeans"in the Start Menu of your Windows 7 machine or running C:\Program Files\NetBeans 7.3\bin\netbeans64.exe from the co opt.note that the exa ct path will depend on the installation location that is mentioned in Figure 1-3,and for 32-bit systems the executable will be named netbeans.exe.Ifyou are running Windows8,then you need to press the"Windows"key and start typing"NetBeans." The Apps Search tool will search for the NetBeans executable that you can select to launch the NetBeans IDE. 14
Chapter 1 ■ Introduction to the EJB Architecture 14 After a successful installation, your NetBeans IDE and GlassFish application server will be ready for use. In the upcoming sections, we will show you how to create a simple NetBeans project and verify that the installed GlassFish server is functioning properly. Testing the NetBeans IDE and GlassFish Installation Assuming that all of the preceding steps have been executed successfully, you are ready to start the NetBeans IDE and the integrated GlassFish application server. We will also demonstrate a few simple tests to ensure that you are set to run the samples in this book. Starting NetBeans IDE The NetBeans IDE provides a graphical environment for creating, deploying, and executing Java EE applications. Administrative tasks like starting and shutting down the GlassFish server domains can also be performed using NetBeans. Invoke NetBeans, either by selecting “NetBeans” in the Start Menu of your Windows 7 machine or running C:\Program Files\NetBeans 7.3\bin\netbeans64.exe from the command prompt. Note that the exact path will depend on the installation location that is mentioned in Figure 1-3, and for 32-bit systems the executable will be named netbeans.exe. If you are running Windows 8, then you need to press the “Windows” key and start typing “NetBeans.” The Apps Search tool will search for the NetBeans executable that you can select to launch the NetBeans IDE. Figure 1-3. Installing the NetBeans IDE and GlassFish application server
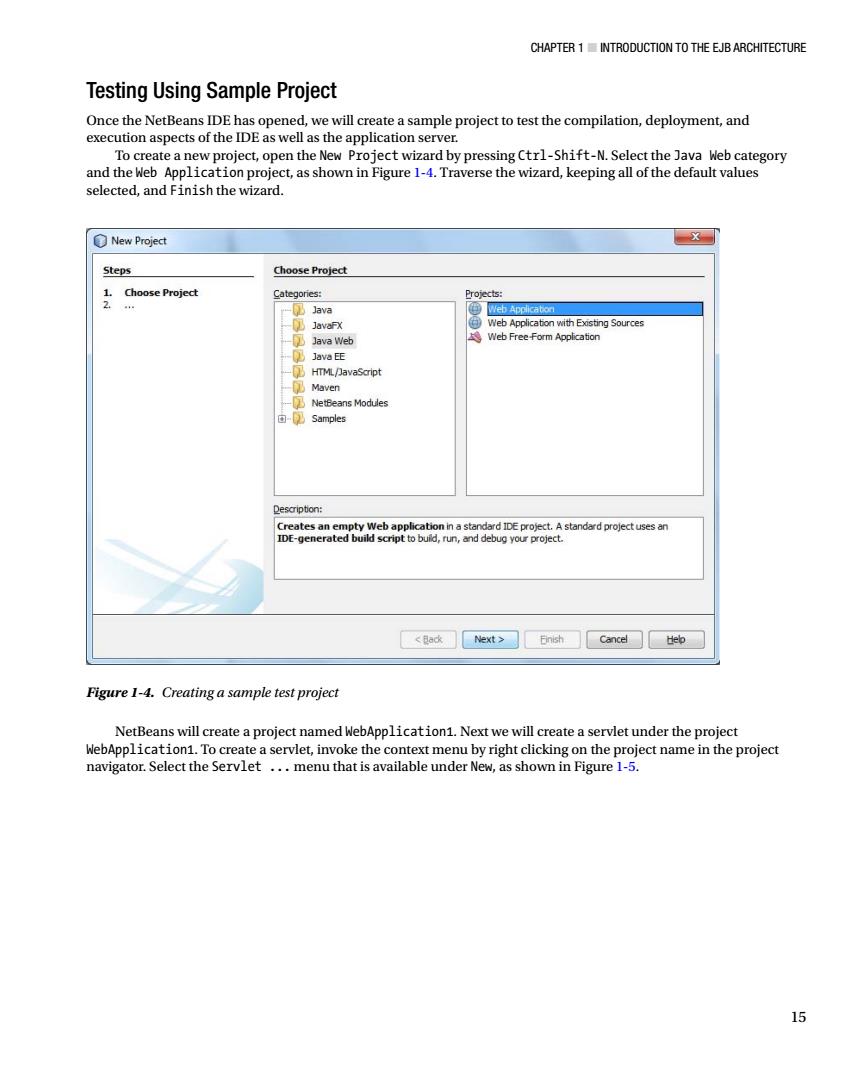
CHAPTER 1 INTRODUCTION TO THE EJB ARCHITECTURE Testing Using Sample Project Once the NetBeans IDE has opened,we will create a sample project to test the compilation,deployment,and execution aspects of the IDE as well as the application server. To create a new project,open the New Project wizard by pressing Ctrl-Shift-N.Select the Java Web category and the Web Application project,as shown in Figure 1-4.Traverse the wizard,keeping all of the default values selected,and Finish the wizard. New Project Steps Choose Project .Choose Project e Form Application Qescription: <adt>Gnish Cancel□b Figure 1-4.Creating a sample test project reate a project ed WebApplication1.Next wev reate a servlet under the pr or.Selec e the proet 15
Chapter 1 ■ Introduction to the EJB Architecture 15 Figure 1-4. Creating a sample test project Testing Using Sample Project Once the NetBeans IDE has opened, we will create a sample project to test the compilation, deployment, and execution aspects of the IDE as well as the application server. To create a new project, open the New Project wizard by pressing Ctrl-Shift-N. Select the Java Web category and the Web Application project, as shown in Figure 1-4. Traverse the wizard, keeping all of the default values selected, and Finish the wizard. NetBeans will create a project named WebApplication1. Next we will create a servlet under the project WebApplication1. To create a servlet, invoke the context menu by right clicking on the project name in the project navigator. Select the Servlet ... menu that is available under New, as shown in Figure 1-5
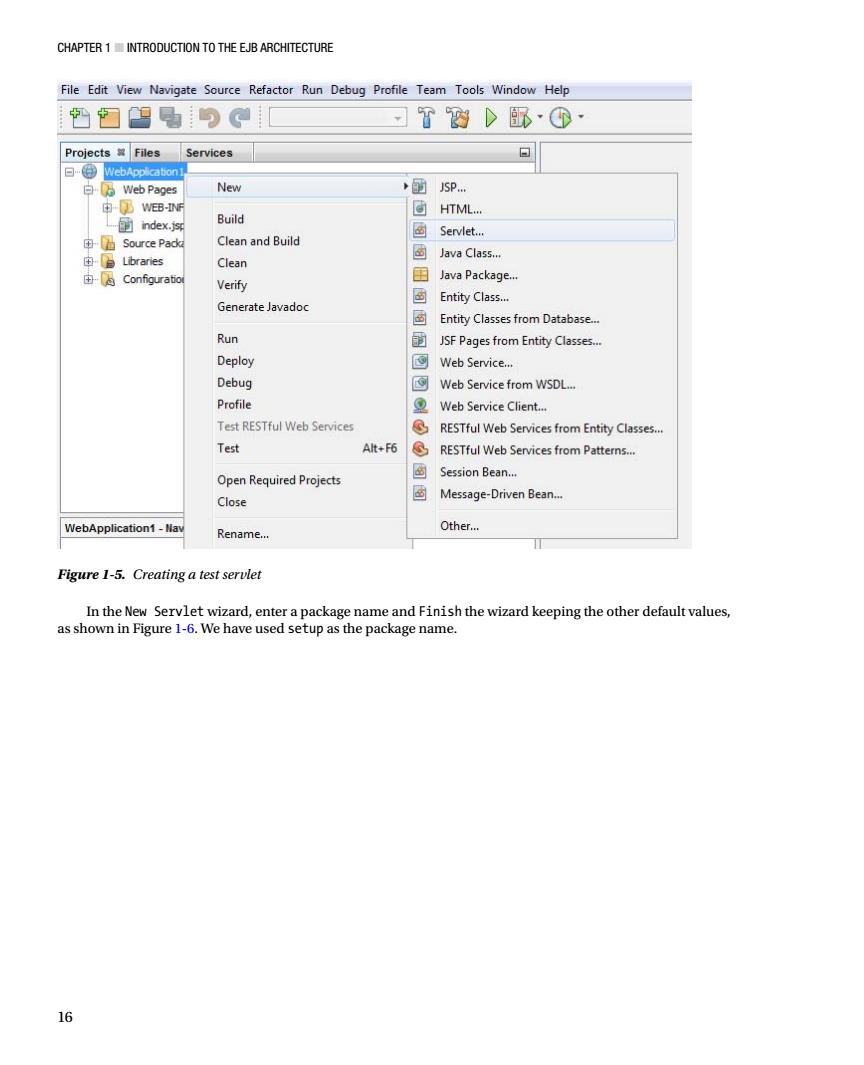
CHAPTER 1 INTRODUCTION TO THE EJB ARCHITECTURE File Edit View Navigate Source Refactor Run Debug Profile Team Tools Window Help 西团想电月「 TD配·⑤ Projects Files Services New ①sP. Build HTML.. Cleanand Build 画Servlet.. Clean avaCas 由Java Package Verify Entity Class... Generate Javado Entity Classes from Database. Ru JSF Pages from Entity Classes.. Deploy 国Web Service. Debug ©Web Service from WSDL. Profile Web Service Client.. Test RESTful Web Services RESTful Web Services from Entity Classes. Test Alt+F6 RESTful Web Services from Patterns... Open Required Projects 画Session Bean. Close 画Message-Driven Bean. WebApplication1-av Rename. Other. Figure 1-5.Creating a test servlet In the New Servlet wizard,enter a package name and Finish the wizard keeping the other default values, as shown in Figure 1-6.We have used setup as the package name. 16
Chapter 1 ■ Introduction to the EJB Architecture 16 Figure 1-5. Creating a test servlet In the New Servlet wizard, enter a package name and Finish the wizard keeping the other default values, as shown in Figure 1-6. We have used setup as the package name

CHAPTER 1 INTRODUCTION TO THE EJB ARCHITECTURE ame and men Source Padage Created Fle:C:Userslareth Figure 1-6.Traversing the New Servlet wizard After the NewServlet class is created,we can egheRunflemeuopon.sshomnFguetyinrokn8heconietmenuonhesetc instant File Edit Yiew Navigate Source Refactor Bun Debug Profile Tem Ioos Window 粉▣想电月0 习TwD脉 Projects Files Services Source Packace Open Cut Ctrl-X Copy Ctrl-C Paste CtrleV Compile File 9 Run File Sh准+F6 Debug File Ctrl-Shift-F5 Figure 1-7.Running the servlet 17
Chapter 1 ■ Introduction to the EJB Architecture 17 Figure 1-6. Traversing the New Servlet wizard Figure 1-7. Running the servlet After the NewServlet class is created, we can instantly run it by invoking the context menu on the servlet file and selecting the Run File menu option, as shown in Figure 1-7
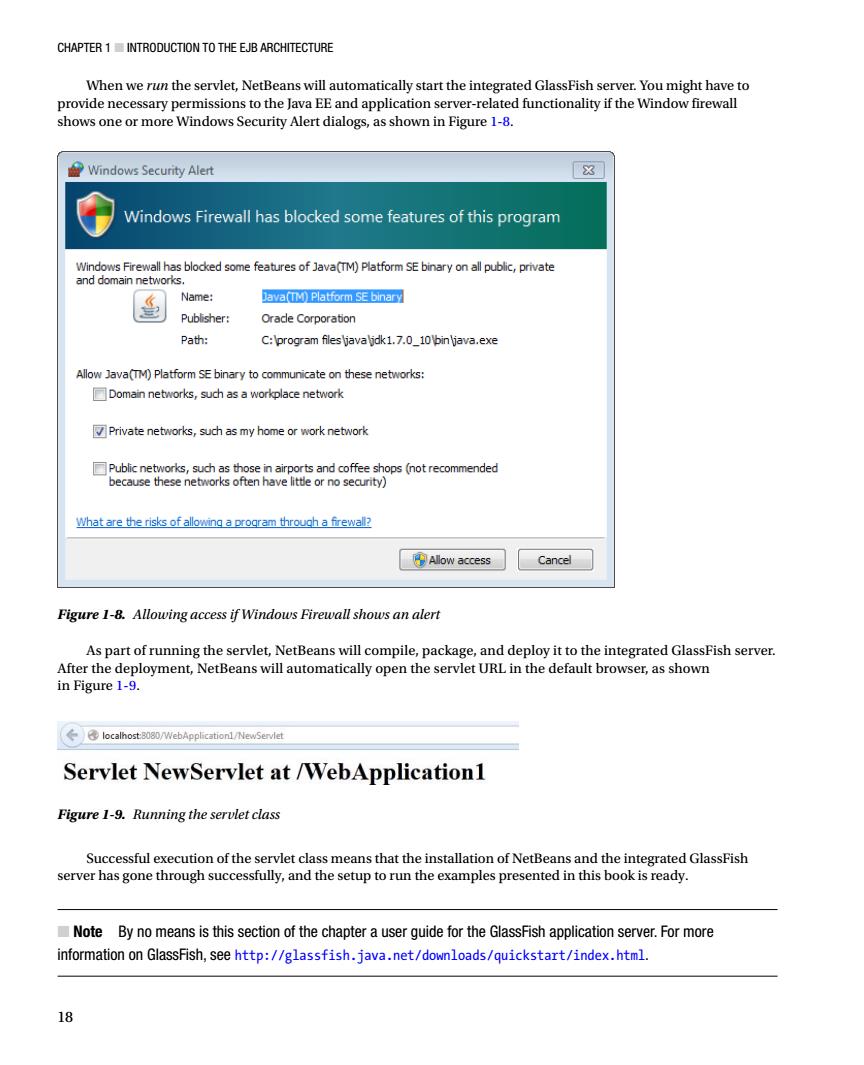
CHAPTER 1 INTRODUCTION TO THE EJB ARCHITECTURE When we run the servlet,NetBeans will automatically start the integrated GlassFish server.You might have to provide necessary permissions to the Java EE and application server-related functionality if the Window firewall shows one or more Windows Security Alert dialogs,as shown in Figure 1-8. Windows Security Alert Windows Firewall has blocked some features of this program bded om feare of v(TPfomynte Name: Java(TM)Platform SE binary Orade Corporation Path: C:program files\javalidk1.7.0_10 inVjava.exe Allow Java(TM)Platform SE binary to communicate on these networks: Domain networks,such as a workplace network Private networks,such as my home or work network e these networ What are the risks of allowing a prooram through a firewall? Allow access Cancel Figure 1-8.Allowing access if Windows Firewall shows an alert As part of running the servlet,NetBeans will compile,package,and deploy it to the integrated GlassFish server After the deployment,NetBeans will automatically open the servlet URLin the default browser,as shown in Figure 1-9. Servlet NewServlet at /WebApplication1 Figure 1-9.Running the servlet class Successful execution of the servlet class means that the installation of NetBeans and the integrated GlassFish server has gone through successfully,and the setup to run the examples presented in this book is ready. Note By no means is this section of the chapter a user guide for the GlassFish application server.For more information on GlassFish,see http://glassfish.java.net/downloads/quickstart/index.html. 18
Chapter 1 ■ Introduction to the EJB Architecture 18 When we run the servlet, NetBeans will automatically start the integrated GlassFish server. You might have to provide necessary permissions to the Java EE and application server-related functionality if the Window firewall shows one or more Windows Security Alert dialogs, as shown in Figure 1-8. As part of running the servlet, NetBeans will compile, package, and deploy it to the integrated GlassFish server. After the deployment, NetBeans will automatically open the servlet URL in the default browser, as shown in Figure 1-9. Figure 1-8. Allowing access if Windows Firewall shows an alert Figure 1-9. Running the servlet class Successful execution of the servlet class means that the installation of NetBeans and the integrated GlassFish server has gone through successfully, and the setup to run the examples presented in this book is ready. ■ Note By no means is this section of the chapter a user guide for the GlassFish application server. For more information on GlassFish, see http://glassfish.java.net/downloads/quickstart/index.html